

Lehenga Dupatta Draping: 10 Styles
Lehenga Dupatta Draping: 10 Styles for Every Occasion
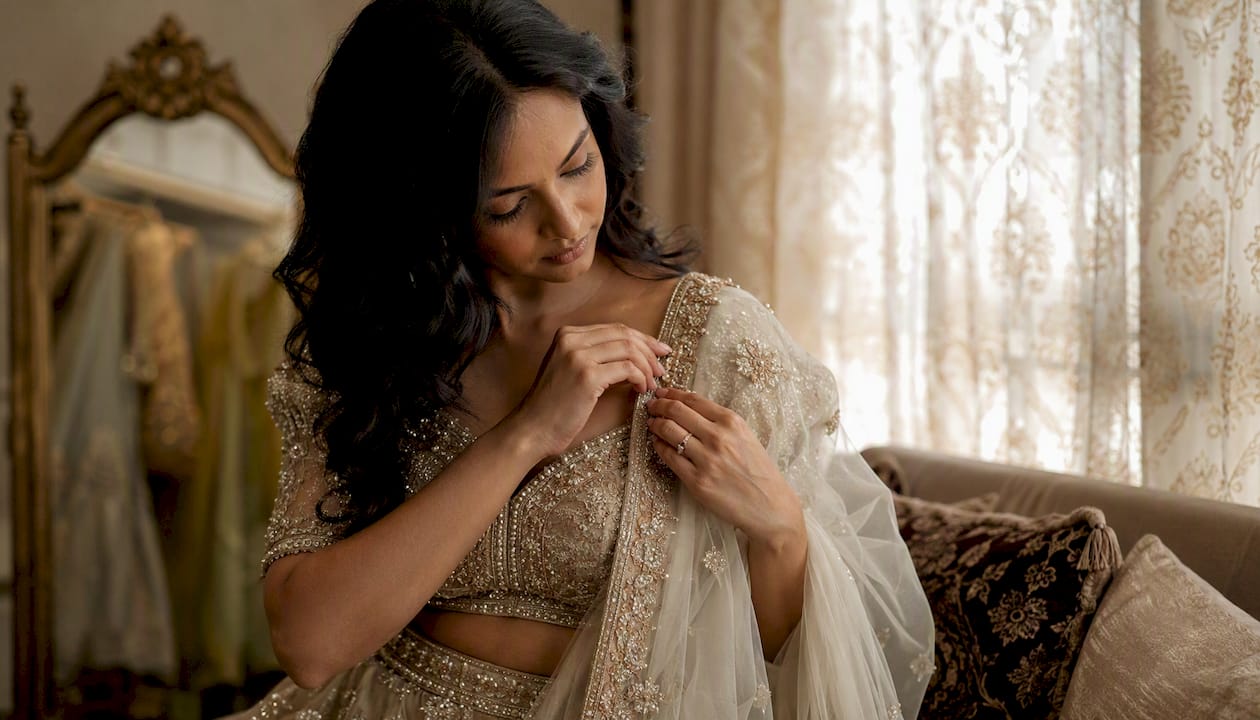
The most versatile lehenga dupatta draping styles, ranked by ease and occasion, are the classic shoulder drape, the one-shoulder cascade, the saree-style pallu, the belted wrap, the over-the-head bridal drape, and the cape-style open drape. Each one suits a different mood, from the quiet ceremony of a wedding morning to the joyful movement of a sangeet night.
Here is your at-a-glance guide before you commit to a full tutorial:
- Classic shoulder drape — Lay the dupatta across your front, toss one end over your left shoulder, pin under the shoulder seam. Best for: receptions, daytime events. Time: 1–2 minutes. Beginner-friendly.
- One-shoulder cascade — Pleat one end, pin at the shoulder, let the rest fall freely down your back. Best for: cocktail events, sangeet. Time: 2–3 minutes.
- Saree-style pallu — Tuck one end into the waistband, wrap around the body, drape the pallu over the left shoulder with soft pleats. Best for: formal receptions. Time: 4–6 minutes.
- Belted wrap — Drape across both shoulders, gather at the waist, and secure with a dori or embellished belt. Best for: dance-heavy events, Garba. Time: 2–3 minutes.
- Over-the-head bridal drape — Center the dupatta on the crown, let both ends fall symmetrically over each shoulder, pin at the crown and both shoulders. Best for: bridal ceremonies. Time: 3–5 minutes.
- Cape-style drape — Spread the dupatta across both shoulders like a cape, pin at the neckline, leave the ends loose. Best for: receptions, cocktail parties. Time: 1–2 minutes.
Key Takeaways
The most reliable lehenga dupatta draping comes from matching the fabric weight to the drape style, securing it at multiple anchor points, and testing full movement before the event.
| Point | Details |
|---|---|
| Match drape to occasion | Bridal ceremonies call for heavy over-the-head drapes; dance events suit belted wraps or cape styles. |
| Prepare the foundation first | A fitted blouse with firm shoulder seams and a snug lehenga waistband are the real anchors of any drape. |
| Layer your securing methods | Combine safety pins, double-sided tape, and dupatta weights for drapes that hold through hours of movement. |
| Practice before the event | A 5-minute daily drill for one week builds the muscle memory to drape confidently on the day. |
| Behuliaustralia for draping-ready pieces | Handcrafted blouses and dupattas with structured finishes reduce draping friction and increase hold. |
Table of Contents
- Popular lehenga dupatta draping styles at a glance
- Before you drape: the preparation checklist
- Step-by-step tutorials for the most-requested dupatta drapes
- How to secure your dupatta for dancing and long events
- Which dupatta fabric works best for each drape and occasion
- Adapting dupatta drapes for your body shape and height
- How to learn dupatta draping visually: a practice plan
- Why the dupatta is not an afterthought
- Dupattas and blouses that make draping easier
- Sources
Popular lehenga dupatta draping styles at a glance
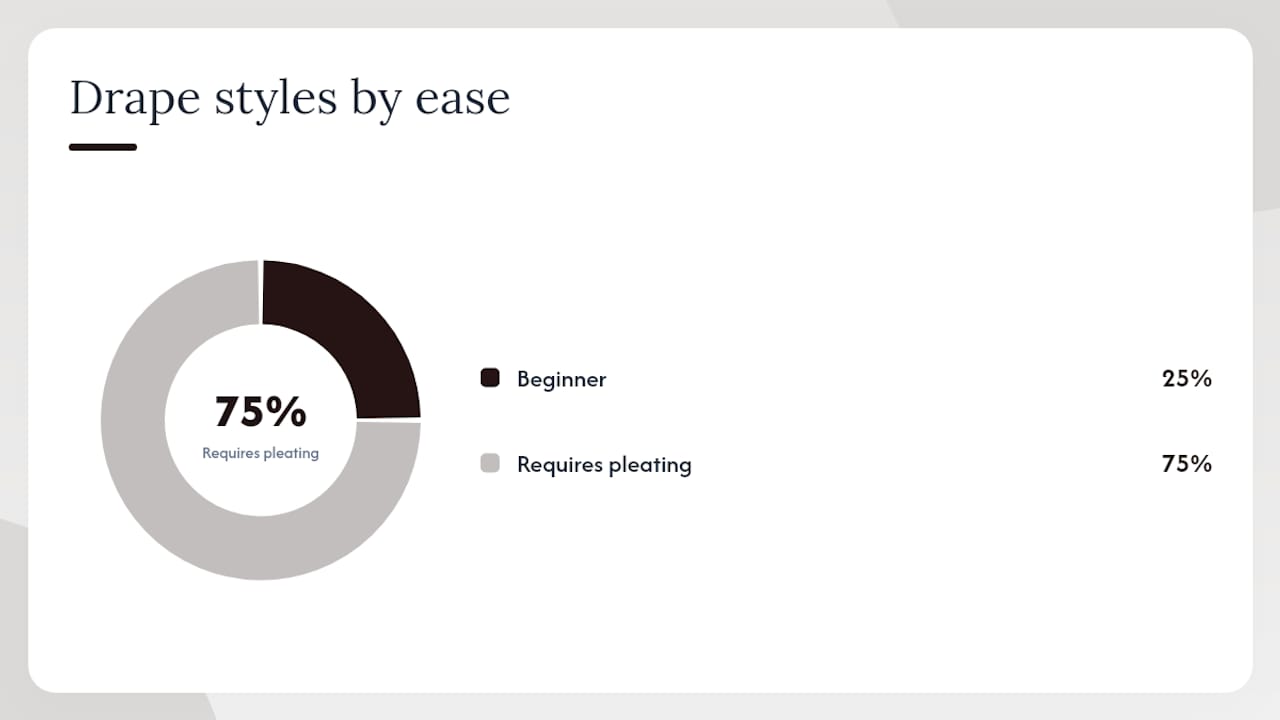
The styles below serve as your quick visual index. Scan the names, note the occasion, and return to the detailed tutorials further on for the full step-by-step. Styles marked (beginner-friendly) require no pleating experience.
- Classic shoulder drape — The most universally worn style; works for nearly every event. Formal but effortless. (Beginner-friendly)
- One-shoulder cascade — A single pleated end anchors at one shoulder while the rest flows freely. Elegant for cocktail events and sangeet; shows off blouse embroidery on the opposite side.
- Saree-style pallu — Wraps the body like a saree’s pallu; formal and structured. Requires head coverage only if the occasion calls for it.
- Belted wrap — Both ends gathered and cinched at the waist with a belt or dori. Dance-friendly and contemporary; hides the waistband completely. (Beginner-friendly)
- Over-the-head bridal drape — Full head coverage with symmetrical falls. The ceremonial standard for bridal lehengas; requires heavier fabric to hold shape.
- V-shape front drape — Both ends pinned at the shoulder blades to create a V across the chest. Flattering for taller frames; shows the blouse neckline beautifully.
- U-shape back drape — Dupatta rests across the upper back in a U, with both ends falling forward over each shoulder. Highlights back embroidery on the blouse.
- Cape-style open drape — Spread flat across both shoulders, pinned at the neckline, ends left loose. Contemporary and movement-friendly; suits flowing chiffon sets beautifully.
- Double dupatta bridal — One dupatta over the head, a second draped across the front or belted at the waist. Reserved for grand bridal moments; requires two coordinating dupattas.
- Bollywood-style wrap — One end tucked into the waistband, the rest wrapped loosely around the torso and tossed over one shoulder. Playful and festive; ideal for Garba and Navratri.
For a broader reference of draping styles and occasion pairings, the above list covers the most-requested looks across weddings, festivals, and receptions.
Before you drape: the preparation checklist
A flawless drape begins long before the dupatta touches your shoulder. The foundation — your blouse fit, lehenga waistband, and tools — determines whether the style holds for two hours or twenty minutes.
What you need
- Fitted blouse with shoulder seams firm enough to anchor a pin without puckering
- Lehenga waistband sitting snugly at the natural waist (not the hips); a loose waistband causes the whole drape to shift
- Dupatta length: standard lengths run 2.5–3 meters for shoulder and cascade styles; bridal over-the-head drapes work best at 2.8–3 meters
- Dupatta weight: light chiffon or georgette for flowing styles; heavier silk or brocade for structured bridal drapes
- Safety pins (8–10 small, 2–3 large)
- Double-sided fashion tape for blouse-to-dupatta contact points
- A small brooch or decorative pin for visible anchor points
- Dupatta weights (small weighted clips) for windy outdoor events
Basic pleating primer
Pleating is the foundation of most structured drapes. Two methods cover nearly every style:
- Narrow pleats (1–1.5 inches): fold the fabric back and forth accordion-style, keeping each fold even. Use your thumb and index finger as a guide. Ideal for saree-style pallu and V-shape drapes.
- Soft gathers: loosely bunch the fabric without precise folds. Creates a relaxed, flowing effect. Best for cascade and cape styles.
Order of dressing
- Put on your blouse and fasten all hooks.
- Step into the lehenga skirt and secure the waistband.
- Tuck the petticoat (if worn) and smooth the skirt fall.
- Drape the dupatta last.
Allow 10–15 minutes for preparation before you begin any draping style. Rushing the foundation is the most common reason a drape slips by the ceremony’s second hour.
Pro Tip: Sew two small fabric loops (about 1 cm wide) on the inside of your blouse shoulder seams before the event. These invisible anchors hold pins without damaging the fabric and prevent the dupatta from shifting even during dancing.
Step-by-step tutorials for the most-requested dupatta drapes
The 6-step master method — foundation placement, front drape, back arrangement, side pinning, final checks, and finishing — applies to nearly every style below. Heavier fabrics require stronger securing and more pins throughout.
1. Classic shoulder drape
The most versatile of all dupatta styles for lehenga, suited to receptions, daytime ceremonies, and formal dinners. Time: 1–2 minutes. Beginner-friendly.
- Hold the dupatta horizontally across your front, one end in each hand.
- Toss the left end over your left shoulder so it falls down your back.
- Adjust the front panel so it sits evenly across your chest.
- Pin the tossed end under the left shoulder seam from the underside, so the pin is invisible.
- Variation: for a photo-ready finish, create two or three soft pleats in the front panel before pinning.
Fabric note: Works with any weight. For heavier brocade, add a second pin at the mid-back to prevent the back end from pulling forward.
2. One-shoulder cascade
Elegant for sangeet and cocktail events; shows off blouse embroidery on the uncovered side. Time: 2–3 minutes.
- Make 5–6 narrow pleats (1 inch each) at one end of the dupatta.
- Pin the pleated end at your left shoulder, inserting the pin through the shoulder seam loop.
- Let the remaining fabric fall freely over your back and to the right side.
- Adjust the cascade so it drapes at a diagonal across the back.
- Variation: pin a small brooch over the shoulder anchor for a decorative finish.
3. Saree-style pallu
Structured and formal; the closest lehenga draping style to a traditional saree. Time: 4–6 minutes.
- Tuck one short end of the dupatta into the left side of the lehenga waistband, about 6 inches deep.
- Wrap the dupatta around your body from left to right, keeping it taut across the front.
- Make 5–7 narrow pleats in the remaining fabric.
- Drape the pleated end over your left shoulder so it falls down your back.
- Pin the pleats at the shoulder seam from the underside.
- Variation: for a westernized version, skip the waistband tuck and simply drape the pleated end over the shoulder, letting the rest hang loose at the front.
Fabric note: Chiffon and georgette create the most fluid pleats here. Stiff brocade resists folding — pre-steam the fabric the night before.
4. Belted wrap
Contemporary and dance-friendly; trending for receptions and cocktail parties. Time: 2–3 minutes. Beginner-friendly.
- Drape the dupatta evenly across both shoulders, letting both ends hang down the front.
- Gather both ends loosely at the center of your waist.
- Secure with an embellished belt, dori, or waist chain, tucking the ends behind the belt.
- Adjust the shoulder portions so they fall symmetrically.
- Variation: let one end hang longer than the other for an asymmetric, fashion-forward silhouette.
5. Over-the-head bridal drape
The ceremonial standard for bridal lehengas; conveys reverence and grandeur. Time: 3–5 minutes.
- Find the center point of the dupatta and place it at the crown of your head.
- Let both ends fall symmetrically over each shoulder and down the front.
- Pin at the crown with 2–3 small pins tucked beneath the maang tikka so they are hidden.
- Pin each shoulder end under the respective shoulder seam.
- Adjust the front panels so they frame the face evenly.
- Variation: pleat the front panels before pinning at the shoulders for a more structured, regal fall.
Fabric note: This drape requires weight to stay in place. Heavy silk, brocade, or embroidered fabric holds the crown position far better than chiffon.
6. Cape-style open drape
Modern and effortless; suits contemporary lehengas and lighter fabrics. Time: 1–2 minutes.
- Spread the dupatta flat across both shoulders, centering it at the back of your neck.
- Pin at the neckline with a decorative brooch or two small pins.
- Leave both ends hanging freely down the front.
- Variation: pin one end at the wrist for a dramatic trailing effect in photographs.
For granular pleating and pin-placement guidance across V-shape, U-shape, and Bollywood-style wraps, the WikiHow dupatta draping tutorial offers clear photo-step breakdowns for each.
Pro Tip: For the over-the-head bridal drape, combine internal shoulder pinning (insert the pin from the underside of the blouse seam) with a strip of double-sided fashion tape on the blouse where the dupatta rests. The tape catches any micro-shifts the pins miss.
How to secure your dupatta for dancing and long events
Slippage is the most common dupatta problem at weddings and festivals. The fix is layered securing: pins for structure, tape for surface contact, and weights for gravity.
Tools and when to use them
- Small safety pins (size 0–1): primary anchor at shoulder seams and waistband tucks; use 2–3 per anchor point for heavy fabrics
- Sari/brooch pins: decorative and functional; place at visible anchor points (shoulder, waist) where a plain pin would show
- Double-sided fashion tape: use along the blouse neckline and shoulder where the dupatta rests flat against fabric
- Dupatta weights: small weighted clips sewn or clipped to the lower hem; prevent the fabric from lifting in wind or during turns
- Waist belts and dori: structural anchors for belted wraps; eliminate the need for multiple pins at the waist
Discreet pin placement checklist
- Insert pins from the underside of the shoulder seam so the head faces inward and is invisible from the front
- Thread pins through internal blouse seams or pre-sewn fabric loops, never through the outer embroidery
- For waistband tucks, pin through the inner waistband lining, not the decorative outer fabric
- Space pins 2–3 inches apart along any tucked section to distribute tension evenly
Pro Tip: Pack an emergency kit: 8–10 small safety pins, 2 decorative brooches, a small roll of double-sided tape, two dupatta weights, and a compact sewing kit. Tuck it into your clutch or hand it to a trusted companion for the event.
Always perform a full movement test before leaving: sit down, stand up, lift both arms overhead, and take several dance steps. A drape that looks perfect standing can bunch at the hip or restrict arm movement when you reach for a garland. Catching this at home takes two minutes; catching it mid-ceremony takes considerably more.
Which dupatta fabric works best for each drape and occasion
Fabric weight and weave determine how a dupatta falls, holds pleats, and responds to movement. Matching the fabric to the drape is as important as the draping technique itself.
| Fabric | Weight | Best drapes | Best occasions | Care note |
|---|---|---|---|---|
| Chiffon | Light | Cascade, cape, belted wrap | Sangeet, Garba, daytime festivals | Steam gently; avoid direct iron contact |
| Georgette | Light-medium | Saree-style pallu, cascade | Receptions, cocktail events | Steam before draping; holds soft pleats well |
| Organza/Net | Light | Cape, V-shape | Cocktail parties, modern receptions | Handle gently; snags easily on pins |
| Silk (plain) | Medium | Classic shoulder, belted wrap | Formal receptions, daytime weddings | Dry-clean; store rolled, not folded |
| Dola silk | Medium-heavy | Classic shoulder, over-the-head | Bridal ceremonies, formal events | Steam the night before; store flat |
| Brocade/Banarasi | Heavy | Classic shoulder, over-the-head | Bridal ceremonies, traditional weddings | Pre-steam; use more pins; store flat |
| Heavy embroidered | Heavy | Over-the-head bridal, V-shape | Grand bridal ceremonies | Handle by edges; avoid folding embroidery |
A lightweight organza dupatta flows beautifully in a cape or cascade style, while a heavier Banarasi dupatta brings the ceremonial weight a bridal over-the-head drape demands.
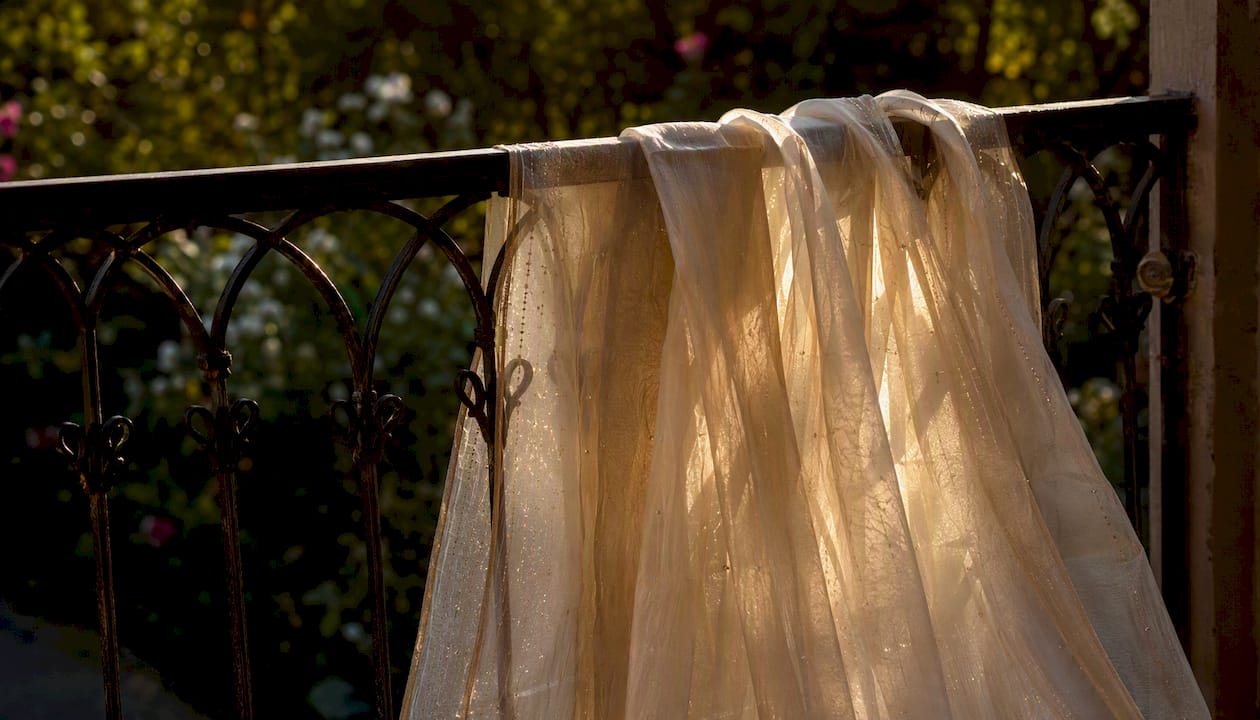
Pre-event care: steam your dupatta the evening before, hang it vertically overnight, and fold it loosely (never tightly) for transport. A creased dupatta resists pleating and makes even a well-executed drape look unfinished.
Adapting dupatta drapes for your body shape and height
The right drape does more than follow tradition. It works with your proportions, drawing the eye where you want it and creating a silhouette that feels as good as it looks.
Body shape and drape pairings
- Petite frames: choose shorter, structured drapes (classic shoulder, cape-style) that do not overwhelm a smaller frame with excess fabric. Avoid very long trailing ends. A narrow pleat width (under 1 inch) keeps the front panel tidy.
- Tall frames: long flowing drapes (saree-style pallu, one-shoulder cascade) complement height beautifully. You can carry heavier fabrics and wider pleats without the drape looking bulky.
- Curvy silhouettes: vertical-emphasizing drapes (one-shoulder cascade, V-shape front drape) draw the eye lengthwise. Avoid wide U-shape back drapes that add horizontal visual weight across the back.
- Athletic/straight frames: the belted wrap and double-dupatta styles add softness and dimension at the waist. A belt or dori cinched at the natural waist creates the appearance of curves.
Practical adjustments
- Pleat width: narrower pleats (under 1 inch) for petite and curvy frames; wider pleats (1.5–2 inches) for tall and athletic frames
- Train length: for petite frames, tuck or pin any trailing end so it does not drag; for tall frames, a longer train reads as intentional elegance
- Belt placement: always at the natural waist, not the hips, to maximize the lengthening effect
- Tuck depth: a deeper waistband tuck (6–8 inches) shortens the visible front panel, useful for petite frames who want a cleaner line
Dos and don’ts
| Silhouette | Go-to drape | Avoid |
|---|---|---|
| Petite | Classic shoulder, cape-style | Long trailing saree-style pallu |
| Tall | Saree-style pallu, cascade | Very short structured drapes |
| Curvy | One-shoulder cascade, V-shape | Wide U-shape back drape |
| Athletic | Belted wrap, double dupatta | Flat, unstructured cape on its own |
How to learn dupatta draping visually: a practice plan
Reading instructions is a starting point. Watching and repeating is what builds the muscle memory to drape confidently on the morning of an event.
A 5-minute daily practice drill
- Day 1–2: practice basic narrow pleating only. Fold, release, refold until the pleats are even and quick.
- Day 3–4: add the shoulder pin. Drape the classic shoulder style, pin it, then test by lifting your arms and sitting down.
- Day 5: add the belt test. Try the belted wrap, walk around the room, and check whether the belt holds the gather.
- Day 6–7: full movement test. Wear the complete outfit (blouse, lehenga, dupatta) and move through a sequence: sit, stand, walk, reach overhead, and take 8–10 dance steps.
Best resource formats for visual learning
- 30–60 second tutorial videos: ideal for single-step practice (pleating, shoulder pin). Watch once, pause, replicate.
- 6–8 photo-step galleries: better than video for checking exact pin placement and pleat shape, since you can linger on each frame.
- 6–12 second looped GIFs: particularly useful for motion-sensitive steps like the saree-style pallu wrap, where seeing the continuous motion clarifies the direction of the wrap.
What to photograph during a practice run
- Front view (standing, arms relaxed)
- Back view (to check the fall and any visible pins)
- Side view (to assess pleat depth and train length)
- Seated view (to confirm the drape does not bunch at the hip)
Send these photos to your seamstress or stylist if you need alterations to the blouse shoulder seam or waistband before the event.
Why the dupatta is not an afterthought
Most styling guides treat the dupatta as the final flourish — something you toss on after everything else is decided. That framing misses the point entirely.
The dupatta is the element with the most expressive range in a lehenga ensemble. A single piece of fabric can shift the entire register of an outfit: a heavy brocade over the head reads as ceremony; the same lehenga with a belted chiffon wrap reads as a contemporary reception look. The drape is not decoration. It is the mood.
What I find genuinely underappreciated is how much the blouse determines the drape’s success. A poorly fitted shoulder seam, a blouse with no internal loops, or a neckline that gaps under the dupatta’s weight will undermine even a technically perfect drape. The fabric gets the attention, but the blouse is the architecture.
The shift toward belted and cape-style drapes reflects something real: women want to move at their own celebrations. A drape that requires constant adjustment is not elegant — it is a distraction. The best modern approach is to choose a drape that suits the occasion’s energy, secure it properly, and then forget about it. That quiet confidence is the whole point.
Behuliaustralia’s handcrafted blouses and dupattas are made with this in mind — the shoulder seams are structured to hold pins cleanly, and the dupatta finishes are crafted to drape without fraying or slipping.
Dupattas and blouses that make draping easier
The difference between a drape that holds all evening and one that needs constant adjustment often comes down to the fabric’s finish and the blouse’s construction. A dupatta with a clean, weighted hem sits where you place it. A blouse with structured shoulder seams gives your pins a firm anchor.
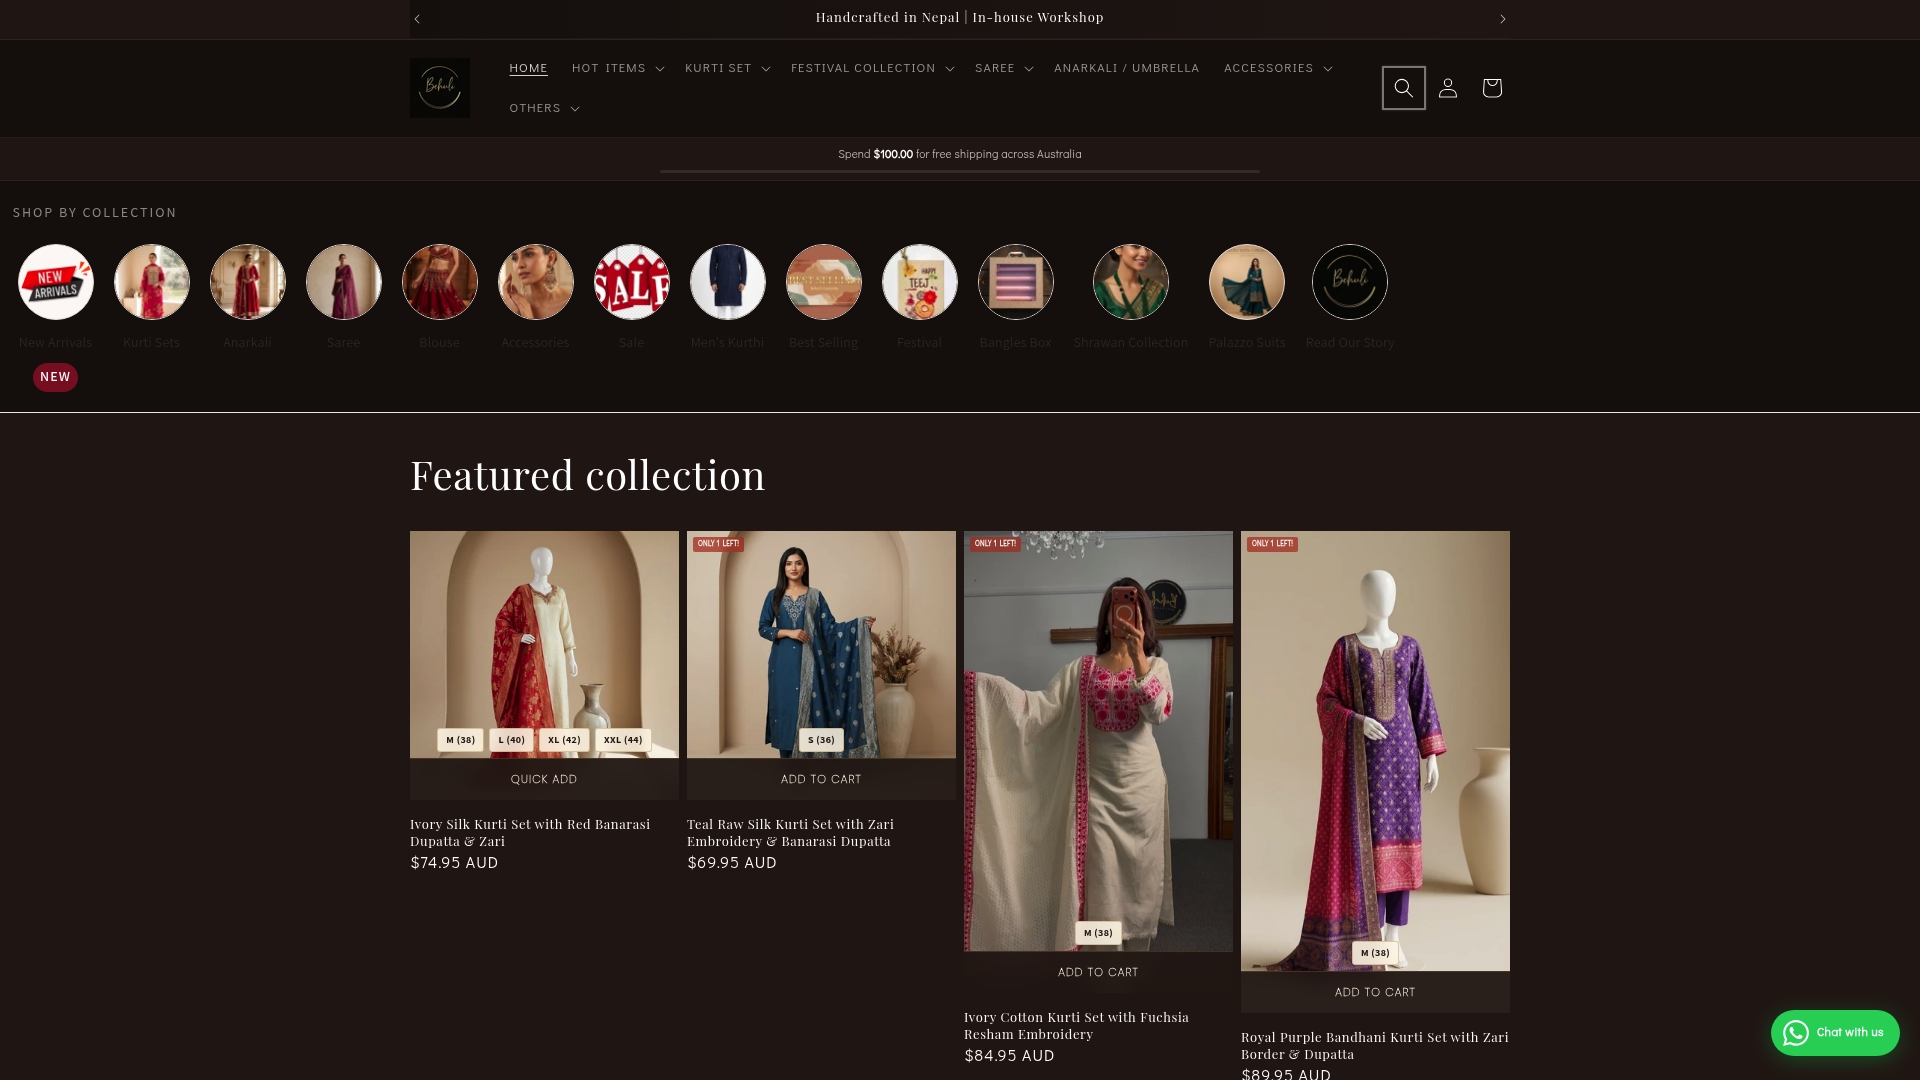
Behuliaustralia’s handcrafted pieces are built for exactly this. The Navy Chiffon Kurti Set pairs a lightweight chiffon dupatta with a fitted blouse, making it ideal for cascade and cape-style drapes that need to move freely. For formal ceremonies, the Premium Embroidery Blouse offers structured shoulder seams that hold pins without puckering, so your over-the-head or saree-style drape stays in place from the first ceremony to the last dance. Every piece is handcrafted by Nepali artisans, with custom sizing available so the fit is precise before you ever reach for a pin. Browse the full collection at Behuliaustralia and find the dupatta and blouse that make your chosen drape effortless.
Sources
These sources offer photographic and video instruction to complement the written steps above. Short clips (30–90 seconds) work best for practicing a single step at a time.
- Master Lehenga Dupatta Draping in 6 Easy Steps
- How to Drape Your Lehenga Dupatta
- 5 Ways to Drape a Lehenga Dupatta | KALKI Fashion Blog